Step 1: Model your pricing, discount, and team bonus scenarios
Use the profit calculator to plan your whitening program before you start or to refine what you already offer.
- Model different whitening fee scenarios to understand profitability
- Plan patient discounts, if any, based on office goals
- Decide whether the office wants to include a staff bonus
- Review and approve all final fees, discounts, and bonus structures with the dentist
Many offices also choose to integrate whitening into hygiene appointments once the office and dentist approve the approach.
- Review the hygiene schedule to identify patients who may be interested
- Call ahead to confirm the appointment and offer a whitening special
- Explain that eligibility is determined after an evaluation and clinical review
- Take impressions at the beginning of the hygiene visit when appropriate
- Deliver trays after the cleaning when approved
This approach can help increase revenue efficiency because chair time for the visit is already covered by the hygiene appointment, while still keeping patient safety and clinical judgment as the priority.
Step 2: Confirm candidacy and set expectations
Review sensitivity history, existing restorations, and the patient’s goals. Confirm timeline and wear expectations based on the clinical protocol used by the office and the dentist’s direction. When offering any whitening discount or promotion, confirm that the patient understands eligibility is determined after evaluation and clinical review.
Step 3: Take a clean, accurate impression
Use your standard office technique. Aim for full capture and clean margins to support a consistent tray fit.
- Inspect for voids, pulls, and incomplete posterior capture
- Rinse and disinfect as per your infection control protocol
- Proceed within the appropriate working time for your materials
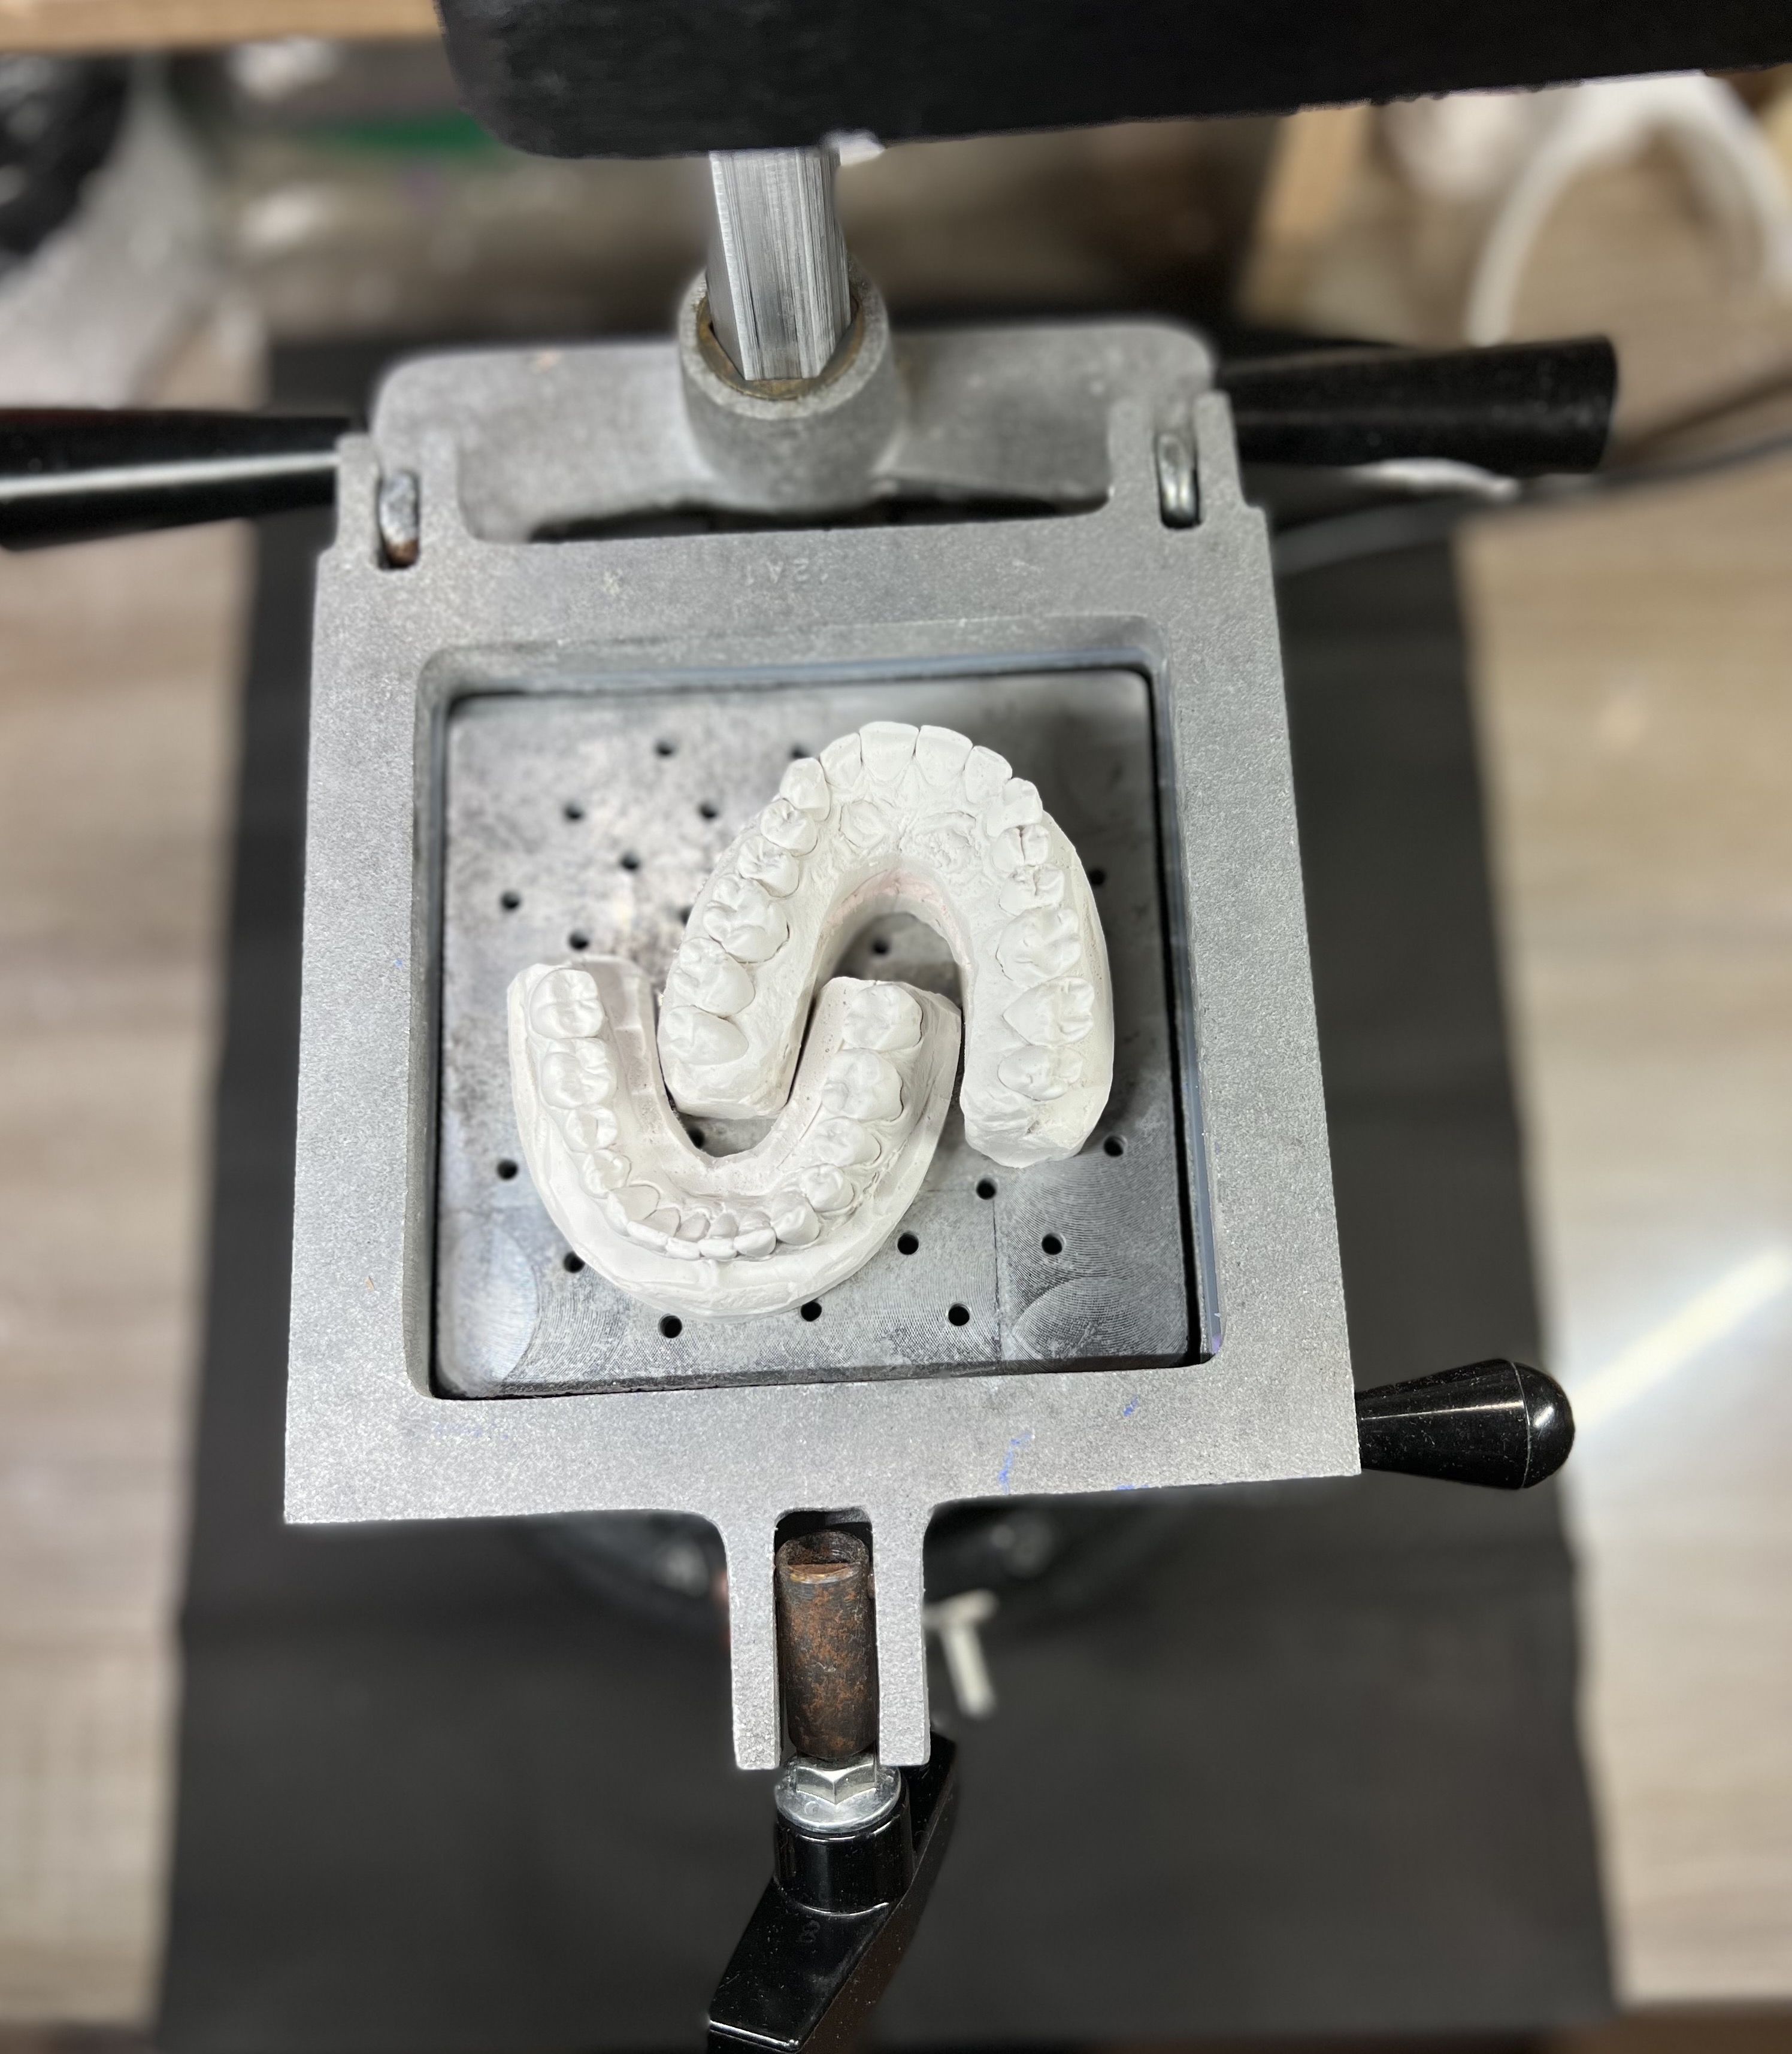
Step 4: Set yourself up for success with a repeatable Modelaider station
A repeatable station setup improves speed and consistency. Use a consistent sequence and follow the directions for use and method videos for exact technique and timing.
- Set up a dedicated station so tools and the stand are always in the same place
- Trim excess impression material as needed
- Use the former to confirm model height
- Follow the putty and cap sequence per directions for use
- Pour the impression and place it in the stand for the recommended set time
References
- Directions for use: https://modelaider.com/directions_for_use
- Modelaider method video directions: https://modelaider.com/directions
Stone guidance: start with the stone your office already uses. As your team becomes more confident and case volume increases, you can progress to faster setting options for patients waiting for same day delivery when appropriate. Reference: https://modelaider.com/dental_stone
Step 5: Review tips and tricks resources before implementing
Before rolling this workflow out across the office, review the downloadable resources on the directions page so the team stays consistent and aligned.
Note: the directions page contains the downloads section. Scroll on that page to locate the downloads area.
Step 6: Follow your office protocol
Follow your office protocol for block out, reservoir design, and any preparation steps based on the clinical approach used by your practice and the whitening materials selected. Final protocols must be discussed and approved by the dentist.
Step 7: Thermoform and trim efficiently
If your office protocol allows, consider placing two models on the vacuum former at the same time to reduce heating cycles and help conserve thermoform material. Confirm results, trim, smooth edges, and verify retention and comfort according to your office protocol.

- Check seating and comfort
- Remove sharp edges and polish as needed
- Confirm fit before delivery
Step 8: Create a delivery protocol with your office
Create a delivery protocol with your office that includes providing written instructions, documenting delivery, and scheduling follow up if appropriate. Include a patient demonstration of how to apply the bleach to the tray and how to apply the tray to the teeth. These are suggestions only. Final protocols must be discussed and agreed to among your clinical team, including the dentist.
Step 9: Track outcomes
Document shade, comfort, and patient feedback. Tracking helps refine timing, messaging, and case selection over time.
Use the worksheet to create your office specific workflow, assign responsibilities, and document approvals.